By Sylvain Glaize.
The all-important Micral N ROM dump, or read and save session, takes place on 5 April 2021.

Detail of one of the monitor ROMs on the Micral N from the MO5 association
These EPROMs are so old that it's possible to see the storage transistors because the engraving is so rough. When we looked into their technology, we learned that the electrical voltage required to program these EPROMs was 47 volts, which is enormous by today's standards. This huge difference in potential may have protected the content of these EPROMs, and we're going to find out right away.
Note that these EPROMs are NMOS components (https://fr.wikipedia.org/wiki/NMOS), such as the 8008 and some of the machine's SRAMs. These components require a +5V and -9V dual-voltage supply, with logic levels different from conventional TTL levels.

ROM Dumper specially designed by Jean François Del Nero for the Micral N
Jean-François Del Nero prepared a special device in advance which, by being adapted to these levels, will enable us to read these EPROMs. As well as reading the 1702 EPROMs, this tool will allow us to test all the machine's RAM memories. These RAMs (SRAMs 2102 and 4007) are in good working order, apart from one which we are replacing with a 2102A.
The sources and schematics of this tool are available on this Github repository:
>>>Sources here
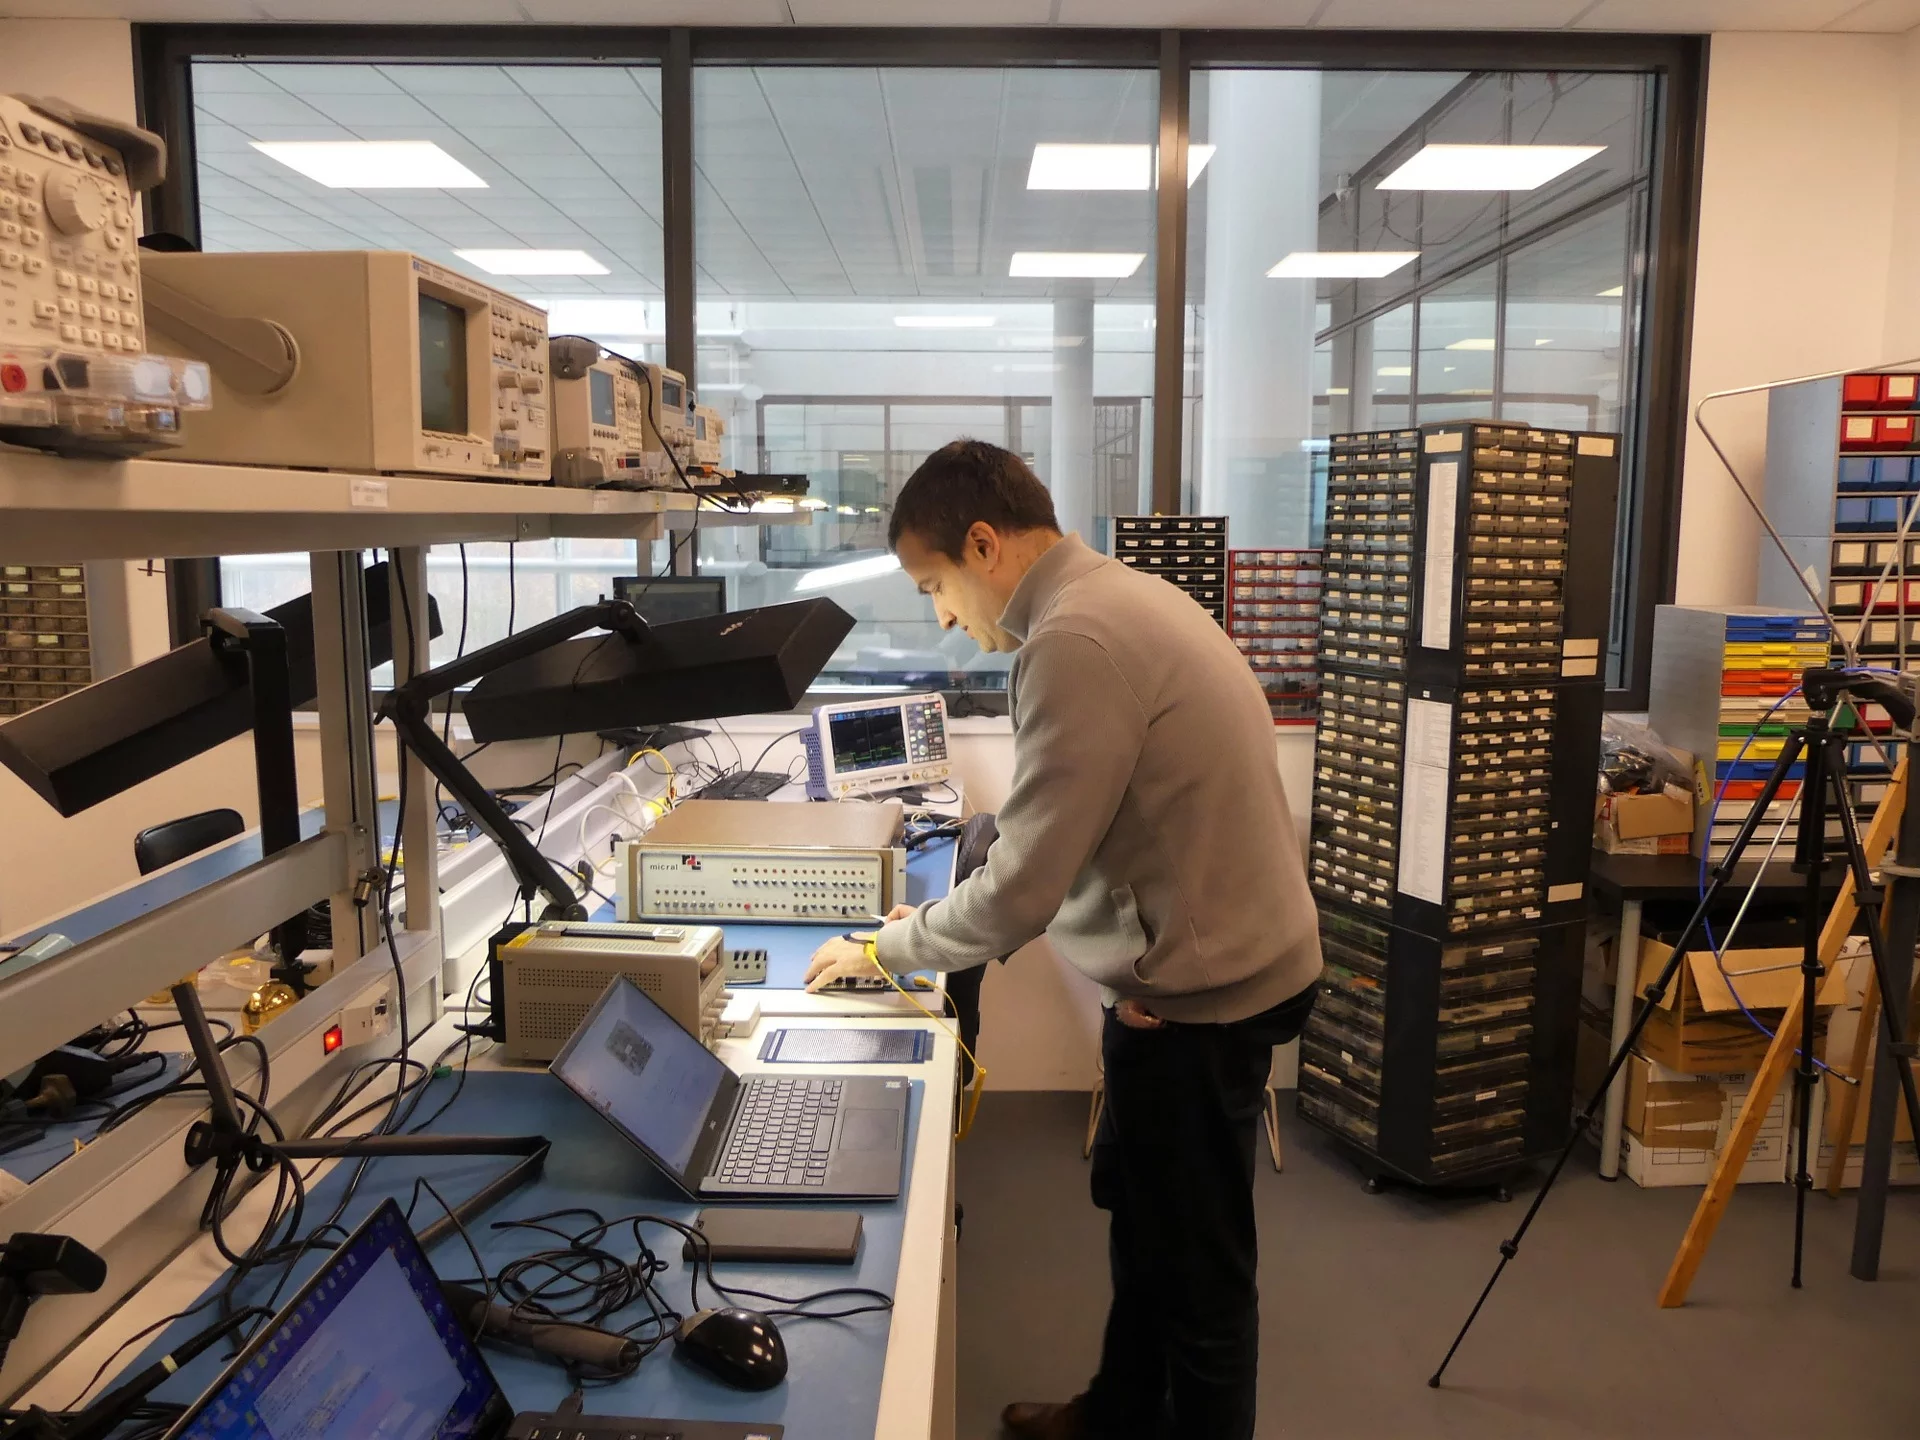
Jean-François at work on a work surface with measuring instruments at Viveris Technologies.

The result of a dump of one of the EPROMs
Everything works perfectly. The contents of the EPROMs are saved! Jean-François and Philippe immediately sent me the contents fresh from the dumper.
The first step is to check that the content is correct. After all, these bytes have been stored for years on EPROMs. The content may have been altered.
There are two different ROMs, one of 256 bytes, the other of 2 kilobytes. We might as well start with the shorter one. 256 bytes isn't very long to go through.
The first ROM
Immediately, there is hope of executable data. In fact, the first two instructions decoded are LAA and JMP $0048.
Underneath these mnemonics lies an 8008 processor boot sequence, which is a very good sign!
LAA means " Load from register A to register A "In other words, "load the contents of register (a piece of processor memory) A into register A". This has no visible effect on the state of the processor and is the convention for telling the 8008 to... do nothing interesting. An equivalent mnemonic on other processors is NOPfor " No OPeration ".
This instruction is generally the first instruction presented to an 8008 that has just started up. Because of the way it works, the processor will execute this instruction twice. Conventionally, the choice is made for an instruction that has no visible effect.
The second instruction JMP $0048 is a jump to the indicated address, which is further away, after a batch of reserved addresses.
This is also a classic instruction, found on Z80-based machines, which has the same first reserved addresses, revealing a filiation.
What next?
From the address `$0048`, it looks like a program. After a bit of work and a few first notes, I'm pretty sure this program hasn't been tampered with. It looks coherent.
There is, however, one small point that deserves attention. In the reserved addresses mentioned above (the " Restart "used by the instruction RST and, on Micral N, by interrupts), only two contain anything coherent.
The rest forms an incoherent whole, and looks more like a sequence of random bits.
A boot ROM
This point is similar to another: at the end of ROM processing, an instruction requests that the processor be restarted at address 0.
The intuition is then to say that this ROM performs a boot operation, and then 'deletes', in the sense of hiding, to make way for something else.
What tends to confirm this intuition is that ROM makes requests on its inputs/outputs to acquire data from a peripheral. This data is then placed in memory, starting at address 0, after a checksum has been verified.
It is therefore probably a boot program that will read a second program from an external source. A " boot loader ".
These intuitions would later be confirmed.
The second ROM
The second ROM is larger. 2048 bytes may seem small, but it's certainly not very big. Translating this content to get a fairly accurate idea of how it works is still a rather tedious task.
But it's an exercise that I nevertheless find enjoyable.
The first step is to find out where this ROM is located in memory. Here, the simplicity of the 8008 helps. The jump instructions all mention absolute addresses. One technique is to find a small loop of instructions and deduce a likely location.
In fact, a loop will mention an address close to the jump instruction itself. Having chosen a probable address, all that remains is to confirm it with a pair of other loops.
This ROM is therefore in $3800address, i.e. at the very end of the 8008's addressable memory space, which addresses a range of 16 kB between addresses $0000 and $3FFF.
Initial spray
These exercises are a bit swimming at first. You have to find the ends of the threads, pull on them and see how the whole ball can be untangled.
The ROM starts by saving the 8008 context in fixed addresses.
Then continues by sending the ASCII code corresponding to a question mark to an external device. This doesn't seem like a coincidence... is there a dialogue going on with the outside world?
I'm looking to see if there's any data recovery from the outside. Indeed, there is.
Monitor ROM
It's time to open the Micral N manual and take a look at the section describing the monitor, a program that allows you to perform generic operations, such as reading and displaying memory, loading data from a punched tape...
And the manual indicates that it displays a question mark while waiting for a command. And the commands, of which there are many, all consist of a capital letter.
Now it turns out that in a piece of ROM that doesn't look like instructions, these letters appear, separated by what could perfectly well be valid addresses in this ROM.
After checking, these addresses are indeed entry points for routines.
There was no longer any doubt, and the doubt was completely removed a few hours later: this was indeed the monitor as described in the manual.
Contribution of ROMs
Studying the ROMs was a crucial step in understanding the machine. The manual is not always very clear about how the Micral N works. What's more, it's a modular machine, which can have various configurations.
These two ROMs have enabled us to start from a precise configuration, deduced from the addresses at which they are stored, as well as the input/output ports used.
This is the information I needed to use the emulator to model the beginnings of a functional and plausible Micral N configuration.
We'll look at this in a later article.
Don't forget to take part in the campaign to support our work! https://micral.mo5.com